Here’s a Quick overview of what I feel would be a great solution. Slice, drop, crimp, plant.
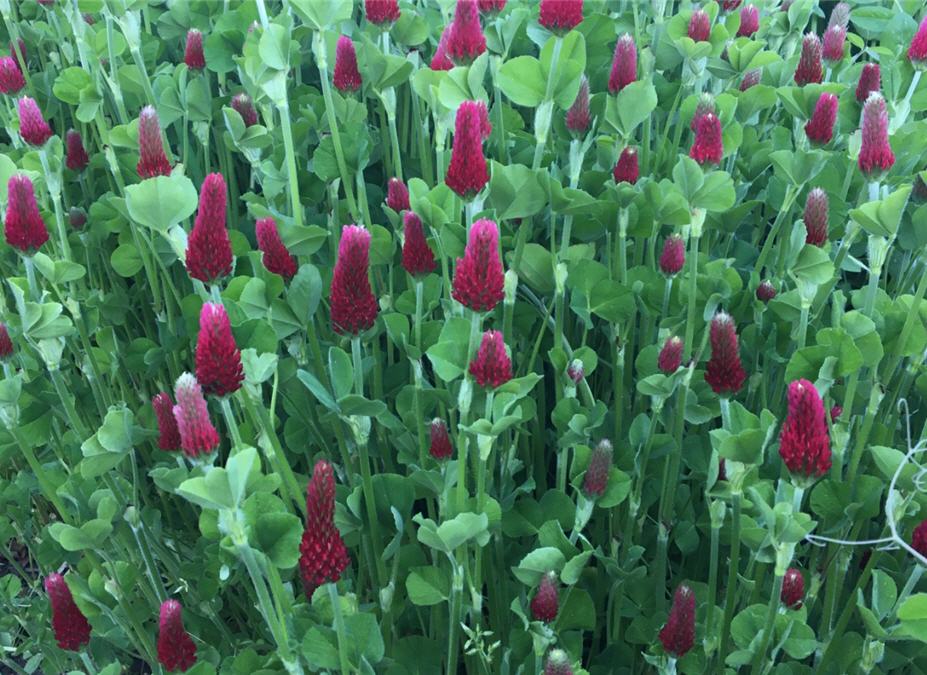
As we watch the crimson clover and peas move into their bloom cycle, within the next two weeks (May 12-30) they must be cut and dropped so as to allow the greens to dry and become a beautiful mulch through which you can then plant your summer seedlings. The bees are currently loving the early morning bloom, but we want to cut before that bloom becomes seed.
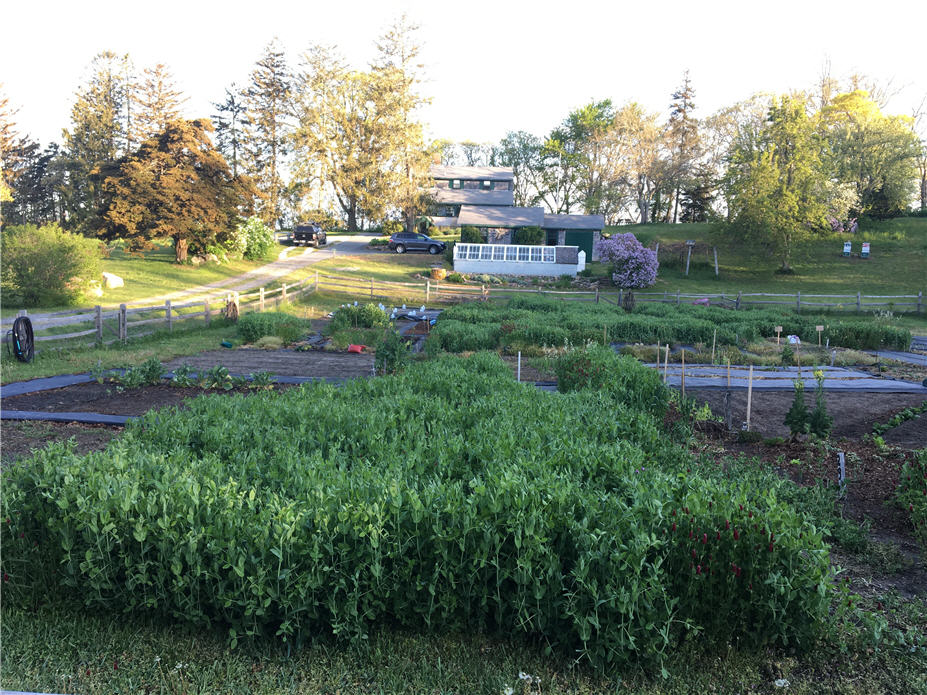
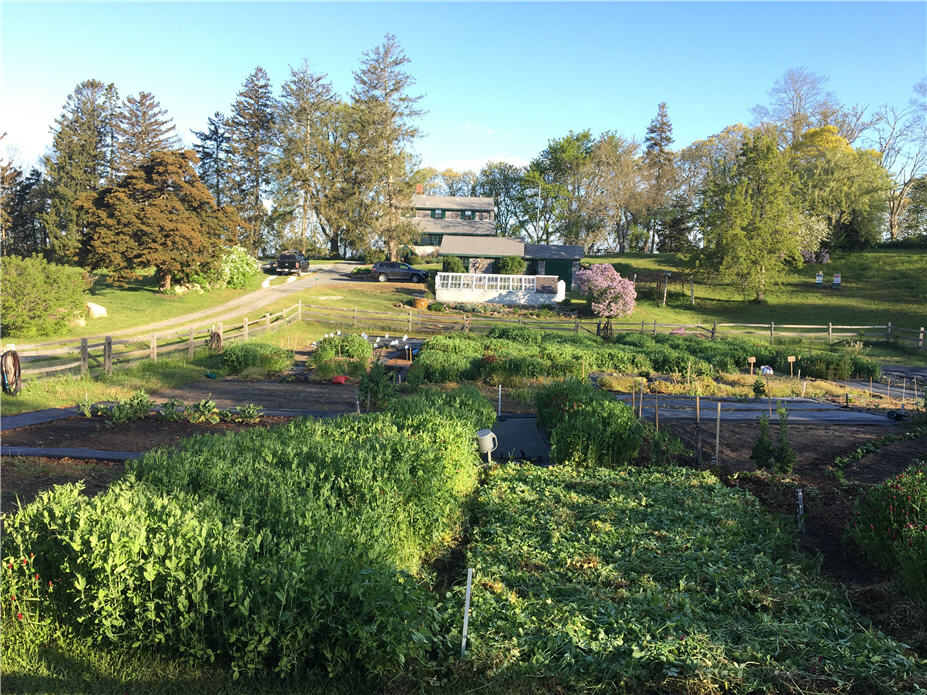
Here are the steps I followed on Deb’s plot. See before and after photos below.
In an athletic, low-crouch position, slice through the crown at the soil line using a hand scythe . The curving sharp blade makes light work. A string trimmer or other tool could be used but note that this is 4’ tall vining plant material which could easily get bound up in your trimmer.
Lay the cut greens across the whole plot and walk on them to crimp the stems.
Enjoy a cool glass of water and enjoy the fresh air and bird song….
Allow the moisture to fall into your soil for few days … or … simply move right into step 5.
Pull away a small area of the drying greens to allow a trowel room to dig a nice hole for your seedlings and then simply replace the mulch around the stem. If still green, keep the mulch an inch away from the stem of whatever you are planting or 1” away from the side of the seed furrow.
This will eliminate the need for fabric or other mulches and the released moisture, nitrogen and organic matter will slowly nourish your topsoil as the sliced roots release their bounty of atmospheric carbon, moisture and nitrogen.
Working steadily, in an athletic crouch position, this half plot took me just 15 minutes. It was ‘work’ but, honestly, it took far less time, excursion, expense and compaction than were it tilled and mulched with fabric or leaves.
Enjoy the glory of Regenerative Agroecology in action… and stop by the greenhouse runoff mitigation and capture project as it progresses through May. The final Hugel terrace will be created soon!
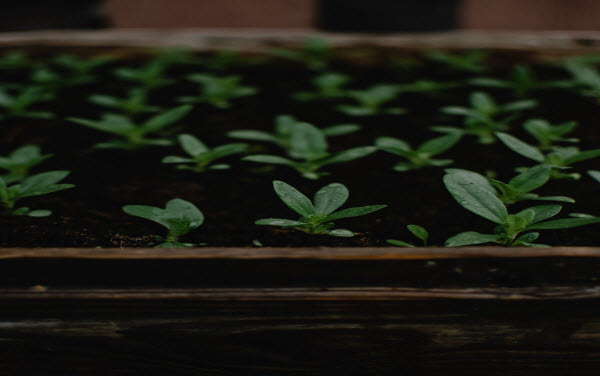
The seeds have been purchased. The seedling trays or pots are in place. The bag of potting soil is awaiting. Once the seeds have been planted and germinate and start growing, things look great and first move along at a fairly slow and manageable pace. Then, suddenly, seedlings look too tall and skinny, start to fall over, and become tough to transplant. How do we avoid the problem of spindly, leggy seedlings?
The key is even lighting. Plants, of course, will always grow in the direction of a light source, whether it’s natural or artificial. If light is insufficient or too far away, a tall, skinny stem will develop at the expense of the width and strength of the stem. Adequate and even lighting will definitely help prevent scrappy seedlings. Plants placed near a south facing window will fare much better than those near a north facing window. That seems pretty basic, but depending on where you live and how your residence is situated, this can be key. On the Cape, however, a south facing window will probably not provide enough light for fledgling plants. Seedlings need about 12 to 18 hours of light per day to get a strong start.
If there isn’t adequate natural light, a grow light or fluorescent light will be necessary. With a grow light, be sure that it is close enough to the seedlings to prevent the reach and stretch that would occur if placed too far away. The lights should optimally be placed just a few inches above the seedlings as they emerge from the soil, and should optimally be raised above the plants to maintain a consistent distance as they grow taller.
Crowded seedlings will also result in spindly seedlings. So, even if you seed heavily and start out with a thick set of youngsters, don’t be afraid to thin them out to ensure healthy and strong plants. Another tip – keep your soil evenly moist and don’t let it dry out. An oscillating fan near the seedlings can provide “strength training” and prep them for the move to the great outdoors.
Growing strong seedlings will help them survive and thrive when transplanted. They’ll withstand wind and rain much better than leggy plants. It can be pretty frustrating to transplant seedlings and then find them knocked over once they’re outdoors. Better to start out strong!
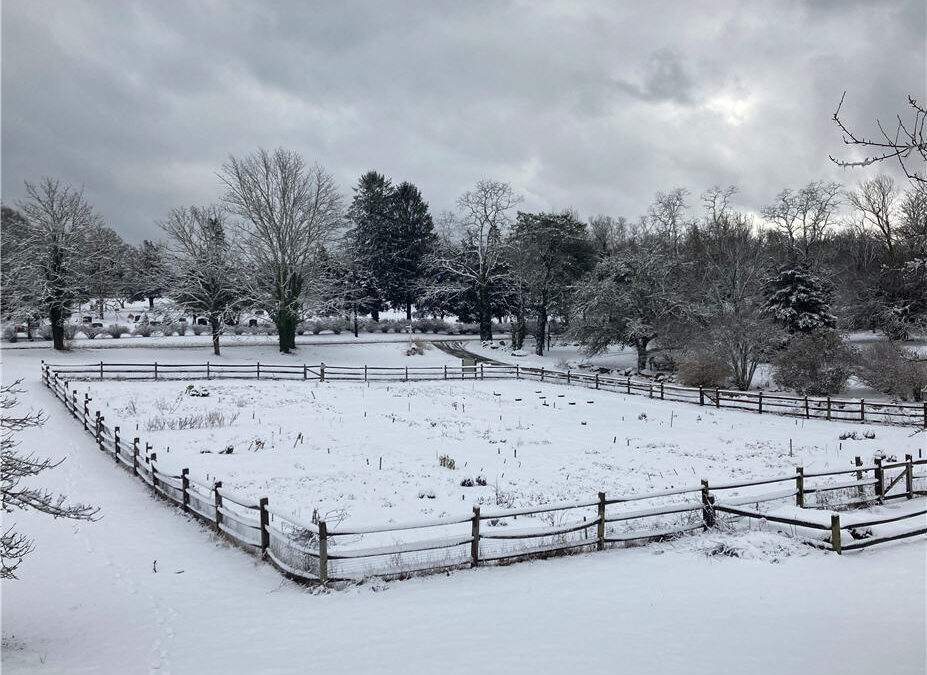
Spring is fast approaching and we Sea Call Farm gardeners are excited about what lies ahead!
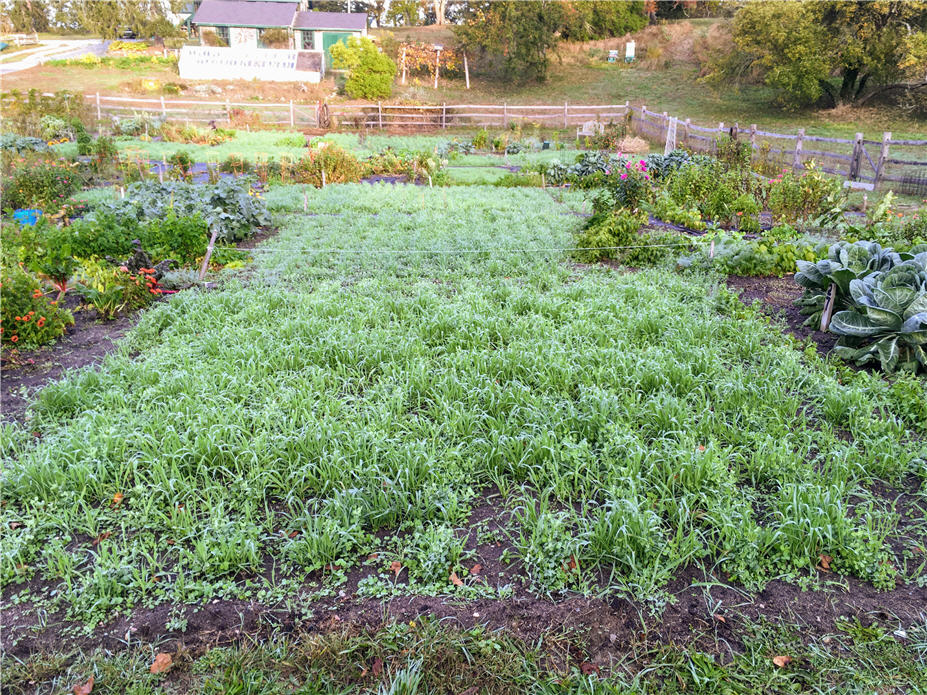
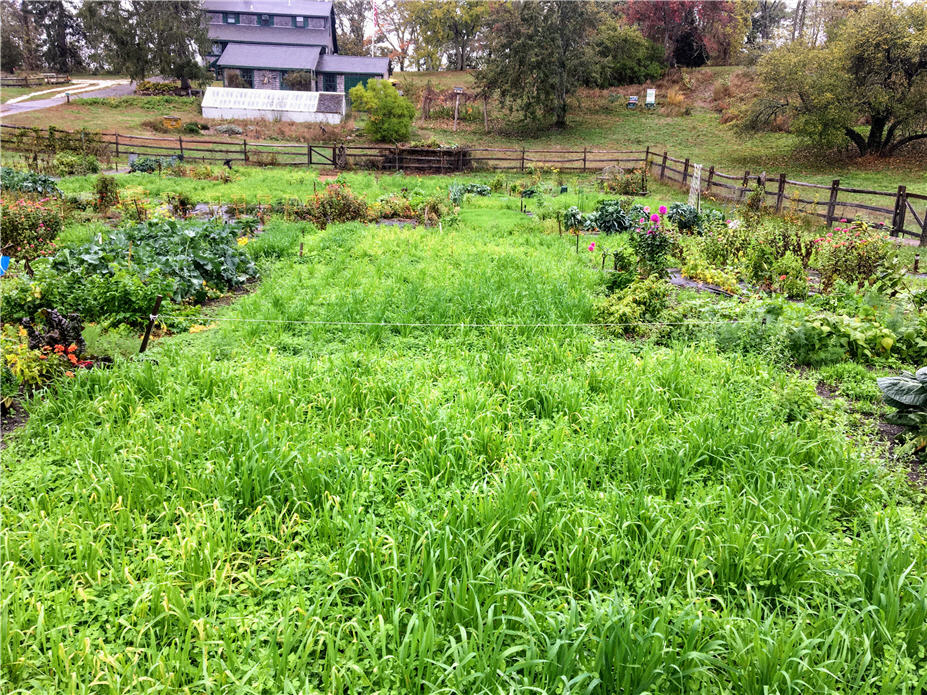
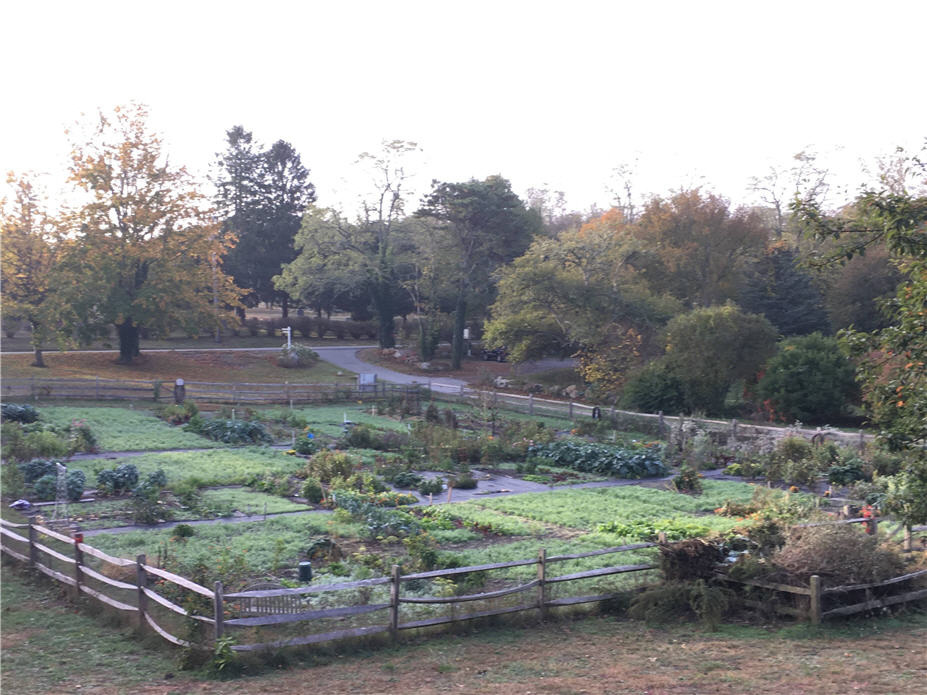
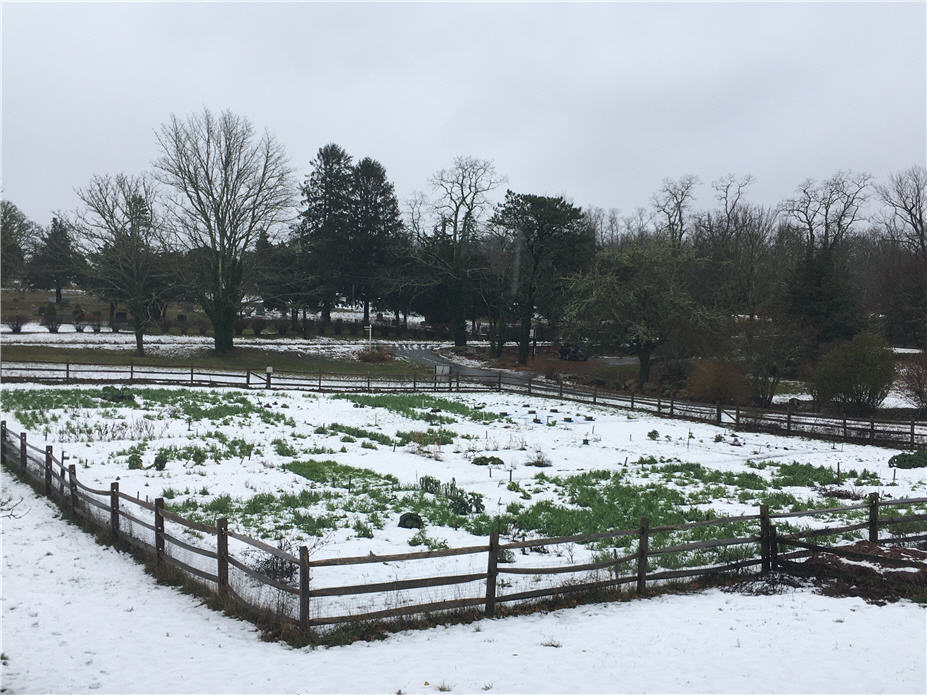
At the end of the last growing season, Rick Francolini led an effort to convert many of our Sea Call Farm plots to no-till for the 2021 growing season. As such, many of us planted winter cover crops such as peas, oats, and crimson clover. Seeds were provided courtesy of Rick.
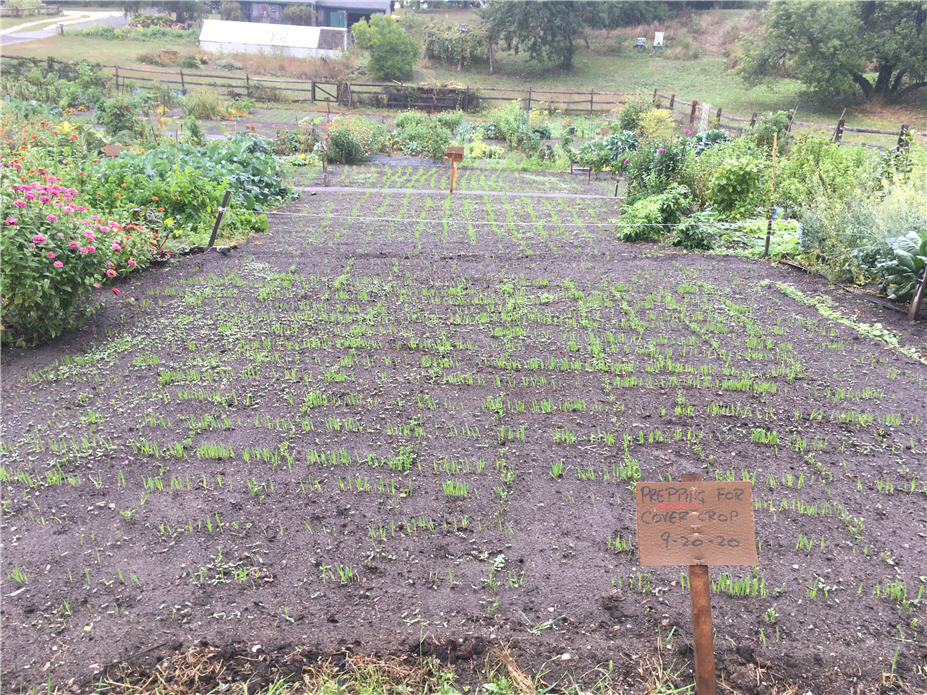
The USDA recommends a target date of September 20th for the Orleans area in order to fully optimize the benefits of the winter crop so we did our seeding late in the summer season.
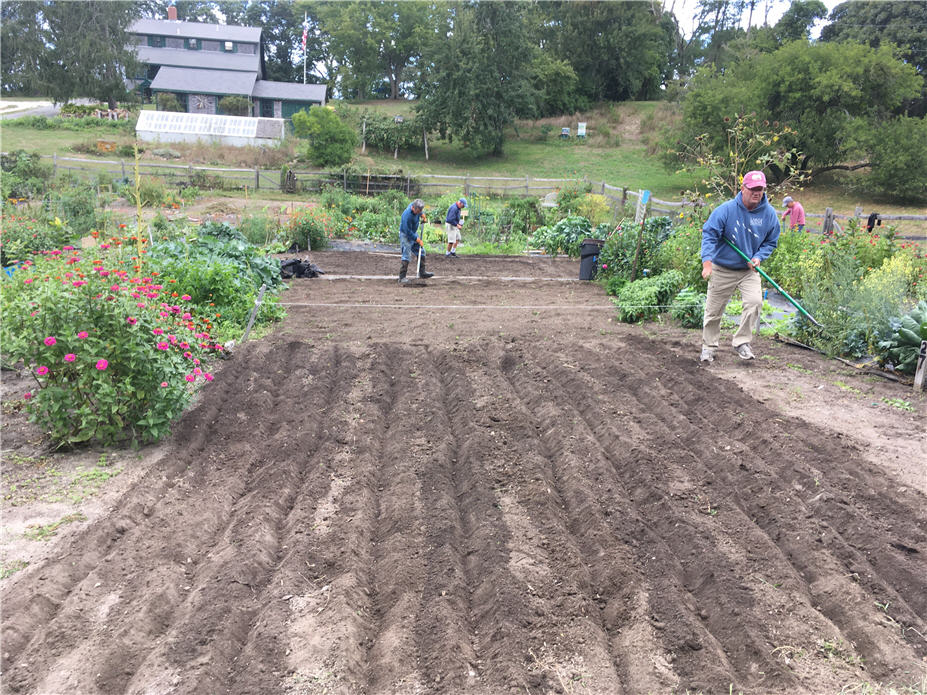
We first prepared our plots for seeding by removing fabric, harvesting remaining produce, and then pulling weeds, flowers, and vegetables. Some of us added manure or compost. Then we dug shallow furrows the prescribed distance from one another and sprinkled our seeds before covering and watering.
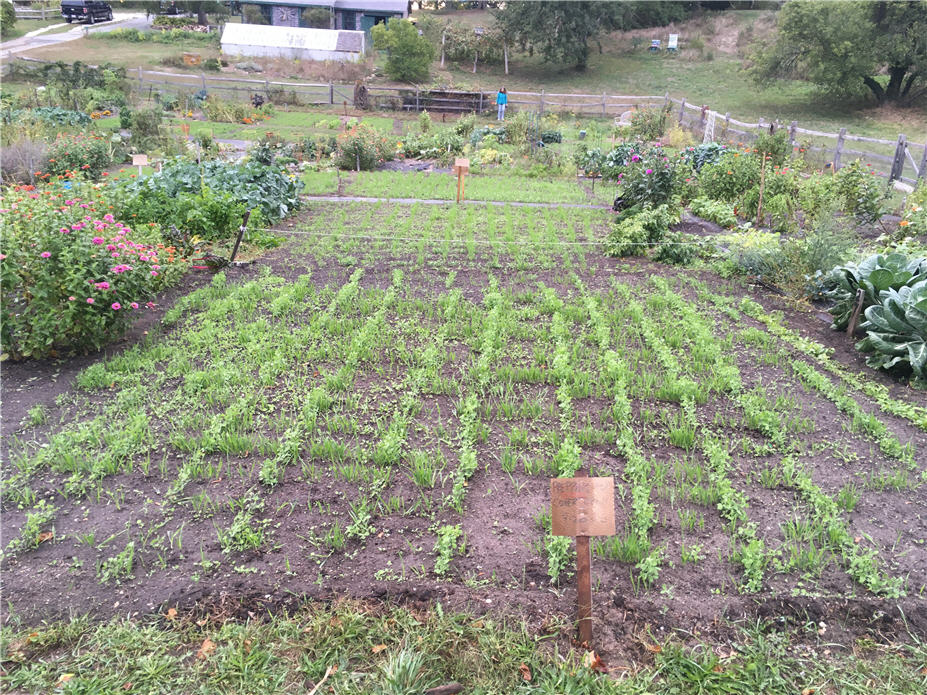
Now that it’s getting close to when we’ll seed and plant our 2021 crops, Rick and Peter Jensen will be providing tips to their fellow gardeners on what to do with the remnants of the winter coverage.
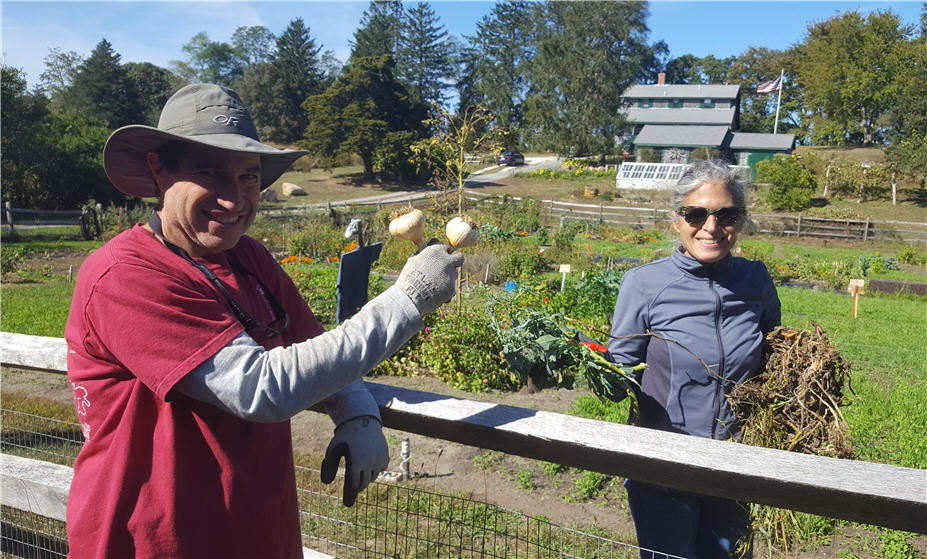
Rick took some great photos of the Sea Call Farm garden to showcase the cover crops. Enjoy!
The six layers of soil, from top down, consist of the organic horizon made up primarily of leaf letter and humus (decomposed organic matter), then topsoil made up of humus and mineral particles, then a leaching layer of sand and silt, then subsoil made up of clay and mineral deposits, then the regolith layer made up of fragmented bedrock, and finally the bedrock layer.
What is soil, exactly? According to the USDA, soil is:
“The unconsolidated mineral or organic material on the immediate surface of the Earth that serves as a natural medium for the growth of land plants.” AND/OR:
“The unconsolidated mineral or organic matter on the surface of the Earth that has been subjected to and shows effects of genetic and environmental factors of: climate (including water and temperature effects), and macro- and microorganisms, conditioned by relief, acting on parent material over a period of time.”
Another definition also noted on the USDA website from “Soil Taxonomy, Second Edition”: “Soil is a natural body comprised of solids (minerals and organic matter), liquid, and gases that occurs on the land surface, occupies space, and is characterized by one or both of the following: horizons, or layers, that are distinguishable from the initial material as a result of additions, losses, transfers, and transformations of energy and matter or the ability to support rooted plants in a natural environment.”
So much to know about soil and soil health! Learn more here!
Recent Comments